Floors
Floors let you work on isolated branches without leaving your workspace. Each floor is a full copy of your repository that shares storage with the original — thanks to APFS (Apple Filesystem) copy-on-write, creating a floor is very fast and uses almost no extra disk space.
Why Floors?
When you're deep in a task and need to context-switch — maybe to fix a bug on another branch, review a PR, or try an experimental approach — you'd normally have to stash your work, switch branches, and later remember where you left off.
Floors eliminate this friction. Create a new floor, and you get a completely isolated environment with its own terminal, branch, and working tree. Your original workspace stays exactly as you left it.
Creating a floor
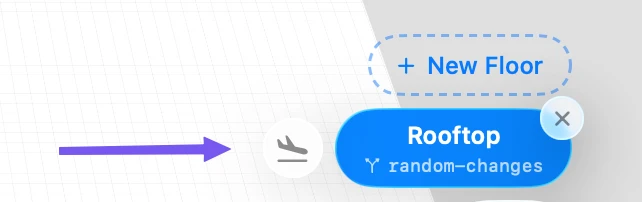
- Click the floor button in the bottom-right corner of the app, next to the minimap.
- The canvas repositions into a 3D space — click the new floor button.
- Give it a name (e.g., "Fix login bug").
- If you have a git repository initialized, choose to create a new branch or use an existing one.
- Optionally enable Clone Ground layout to duplicate all elements (notes, terminals, text blocks) from Ground to your new floor.
- Click Create.
Maestri clones your repository instantly and checks out the floor's branch. Any terminals you add in the new floor work in this isolated environment — you can even run simultaneous dev servers, IDEs, and build commands without conflicts.
Working in a floor
Each floor is a real git repository. You can:
- Make commits, create branches, run tests
- Open multiple terminals in the same floor
- See file changes and diff stats in the floor's panel
- Check for merge conflicts before landing
The floor's branch is mirrored in your original repository, so other tools (GitHub, your IDE) can see it too.
Landing a floor
When your work is ready, it's time to land. Make sure all changes are committed (no dirty working tree), then click Land in the floor's panel.
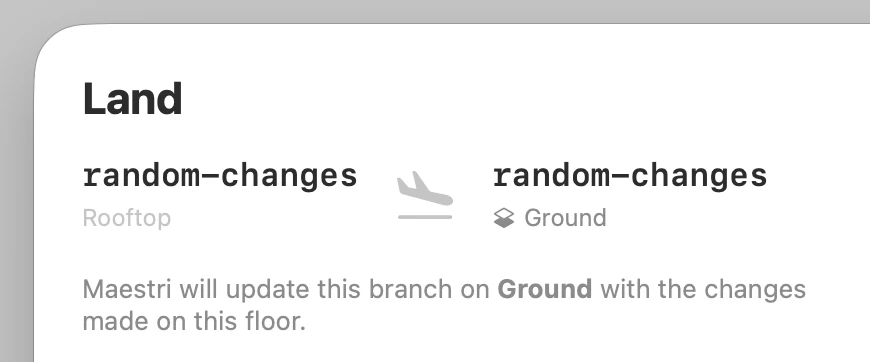
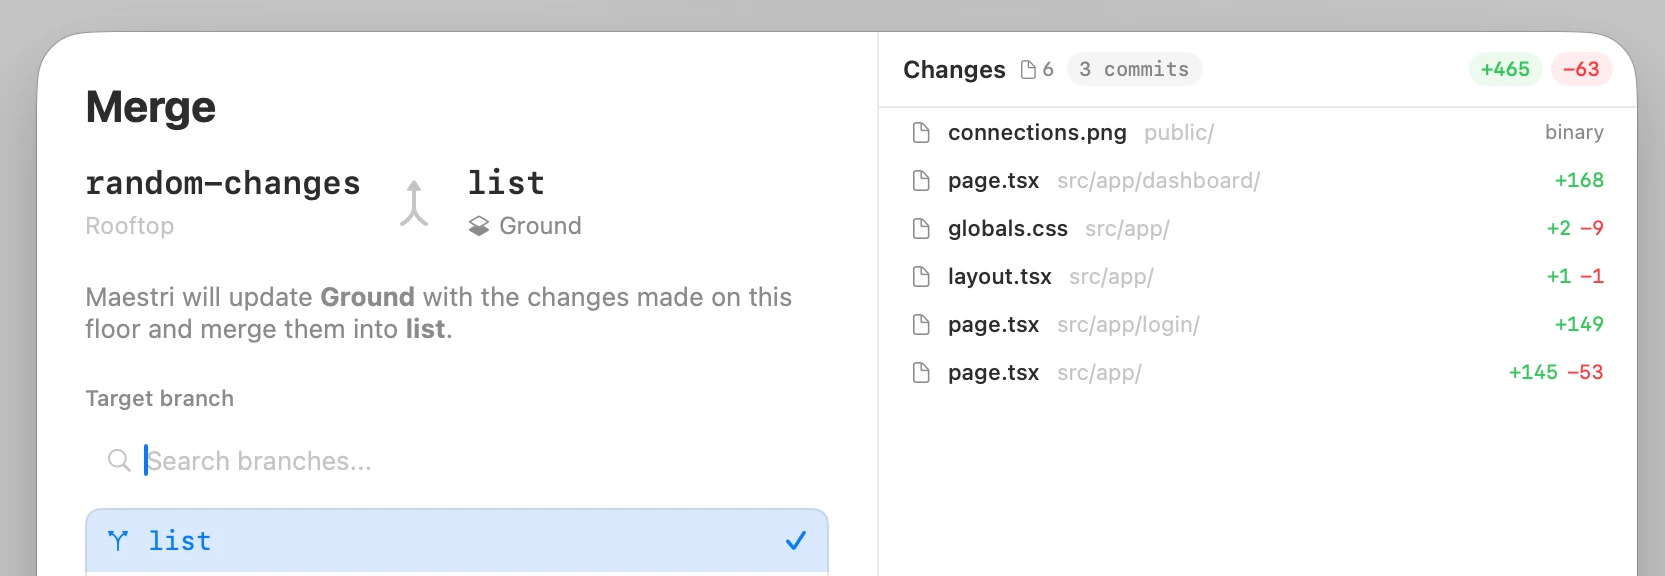
The landing UI shows your floor's branch on the left and the target branch (ground floor) on the right, with an airplane icon representing the transfer of commits.
Select which branch to land into:
- Same branch as the floor — Maestri transfers commits directly to the original repository.
- Different branch — Maestri performs a merge as well (if no conflicts are found).
After selecting, you'll see a merge preview with diff stats and any potential conflicts.
Click Merge to complete the landing. Maestri fetches your floor's commits into the original repository and merges them into the target branch.
Note
Handling merge conflicts is not currently supported in the floor UI. Resolve conflicts in your IDE or terminal before merging.
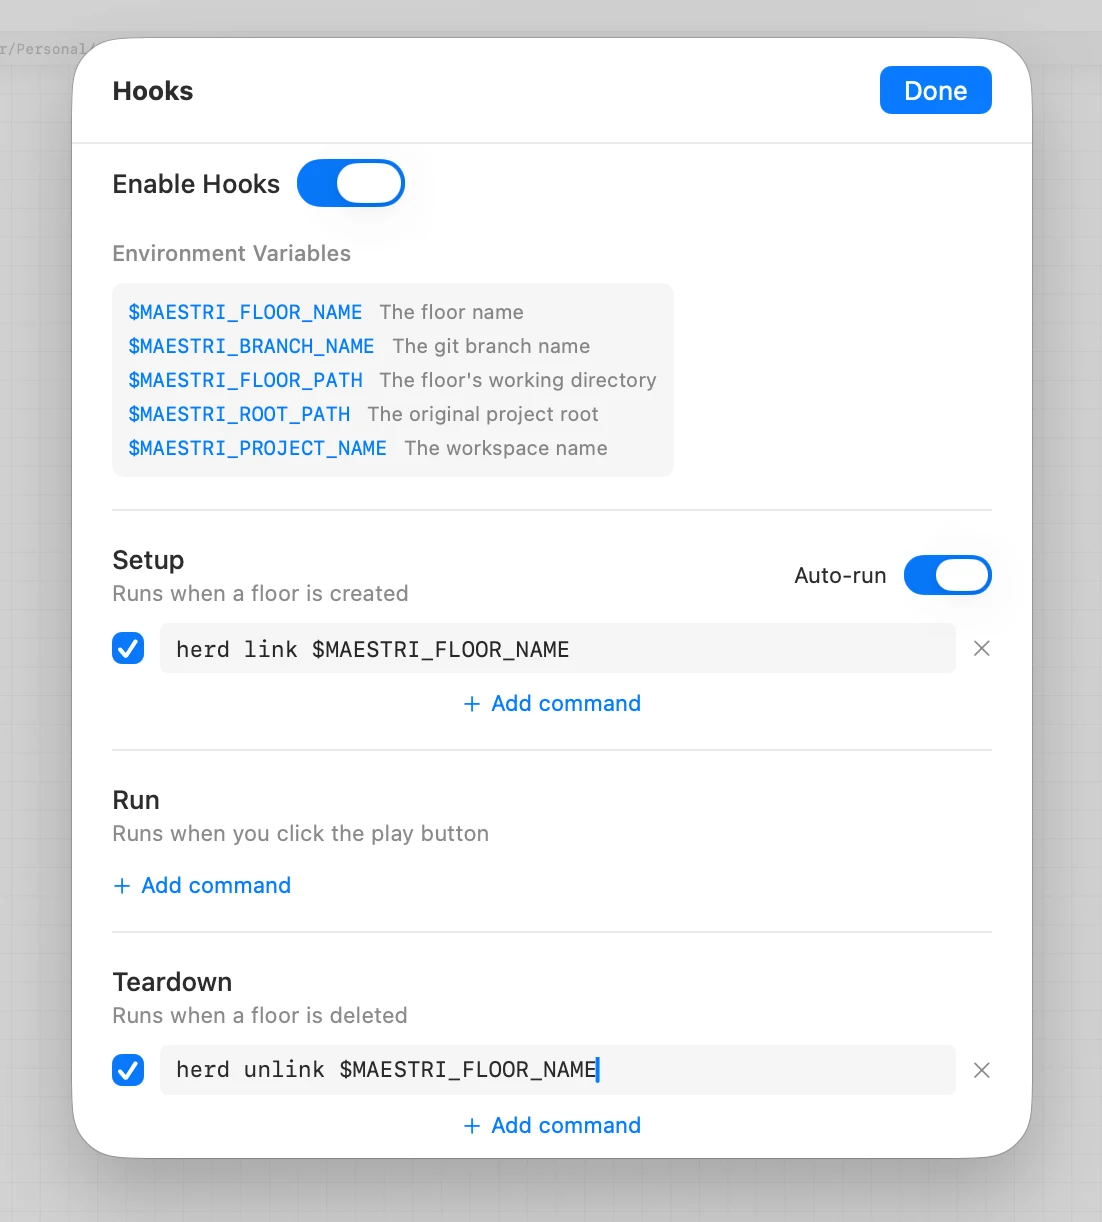
Hooks
Hooks let you automate commands that run at key moments in a floor's lifecycle — when it's created, when you want to run tasks, and when it's deleted.
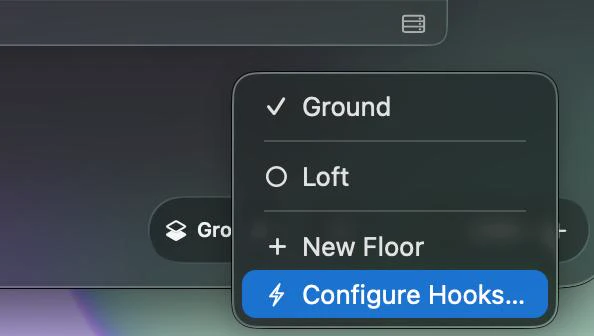
To configure hooks, right-click the floor button in the canvas and select Configure Hooks....
Hook types
There are three types of hooks:
- Setup — Runs when a floor is created. Use it to install dependencies, link services, or prepare the environment. You can enable Auto-run to execute setup commands automatically when the floor is created.
- Run — Runs when you click the play button. Use it for starting dev servers, running tests, or any on-demand task.
- Teardown — Runs when a floor is deleted. Use it to clean up resources, unlink services, or remove temporary files.
Each hook supports multiple commands — click + Add command to add more.
Environment variables
Maestri provides environment variables you can use in your hook commands:
$MAESTRI_FLOOR_NAME— The floor name$MAESTRI_BRANCH_NAME— The git branch name$MAESTRI_FLOOR_PATH— The floor's working directory$MAESTRI_ROOT_PATH— The original project root$MAESTRI_PROJECT_NAME— The workspace name
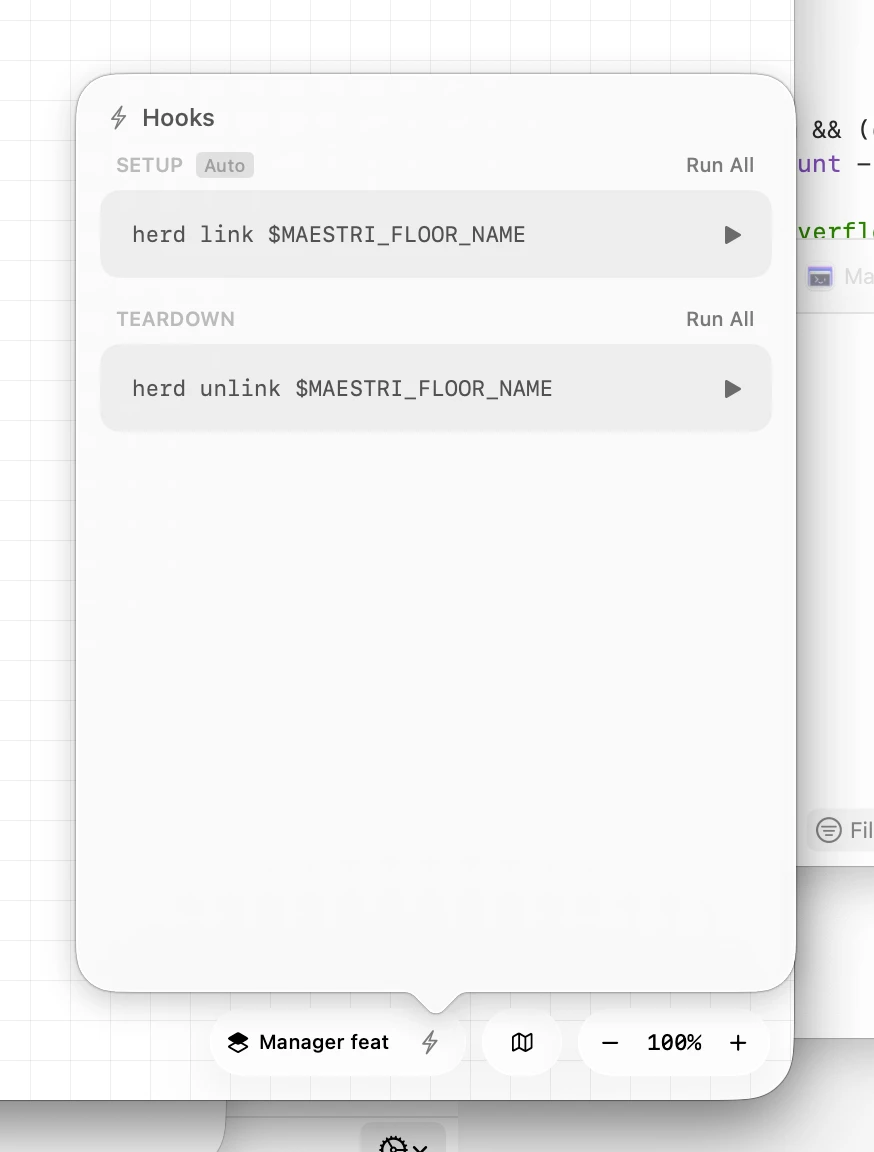
Quick access
Once configured, your hooks are always accessible via the bolt icon (⚡) next to the floor button in the canvas. From there you can see all your hooks grouped by type and run them individually or all at once with Run All.
Renaming a floor
Right-click on a floor indicator to rename it. This is useful when the scope of your work changes or you want a more descriptive name.
Deleting a floor
Click the x on a floor to delete it. You can choose to:
- Keep the branch — the branch stays in your repository for later use
- Delete the branch — removes both the floor and its branch
The cloned directory is always removed, freeing up any disk space used by divergent files.
Requirements
Floors require two things to work:
- APFS volume — Floors use copy-on-write cloning, which only works on APFS (the default on modern Macs).
- Git repository — Your workspace must be a git repo.
How it works
Under the hood, floors use instant APFS cloning. The clone shares all unchanged files with the original — only modified files take up additional space.
When you land a floor, Maestri uses git fetch to pull commits from the clone back to your original repository, then merges using git plumbing commands to avoid disrupting your working tree.
Floors are stored in a .maestri/floors directory next to your project. This directory is automatically cleaned up when you delete the last floor.